


Between taking care of the boys, keeping up on the house and cooking meals, I was able to complete this project in a day. But as soon as the boys went down for bed, I hit the bed hard and was out until the next morning. I worked myself good that day. zzz zzz
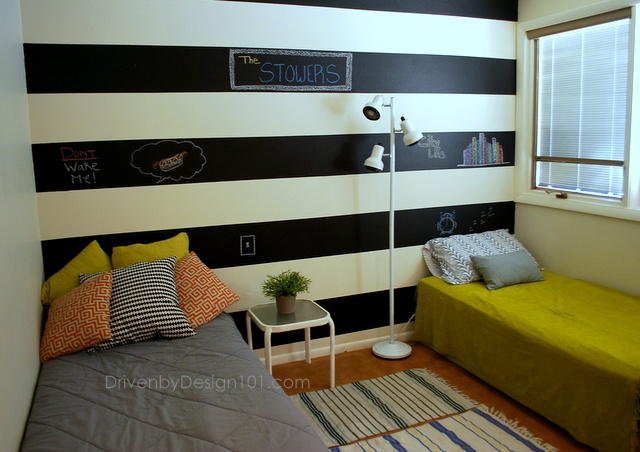
Anyways, it took two coats of chalkboard paint and gathering decor from around the house to complete the room. I really didn't want to go out and buy new stuff, so I looked around the house and tried to utilize things I wasn't using before.
So this room as a "thrown together" look, but I love it and really like how it turned out.
The process...
1. Wipe down the walls of any dust.
2. Mark dots across the wall using a measuring tape of how thick you want the stripes.
3. Used painters tape to tape across the wall.
4. Press over the tape with a rag to make sure it's on the wall good.
5. Paint every other strip with black chalkboard paint.
6. After it dries, painted on the second coat.
7. Take the tape off.
8. Put the room together (this is the fun part!)
9. Draw on the wall with chalk. (that's something you don't hear everyday)
10. Last but not least, stand back to admire the finished room! (Such a good feeling.)


 |
1 comment:
so cute!!! i love this!!
Post a Comment